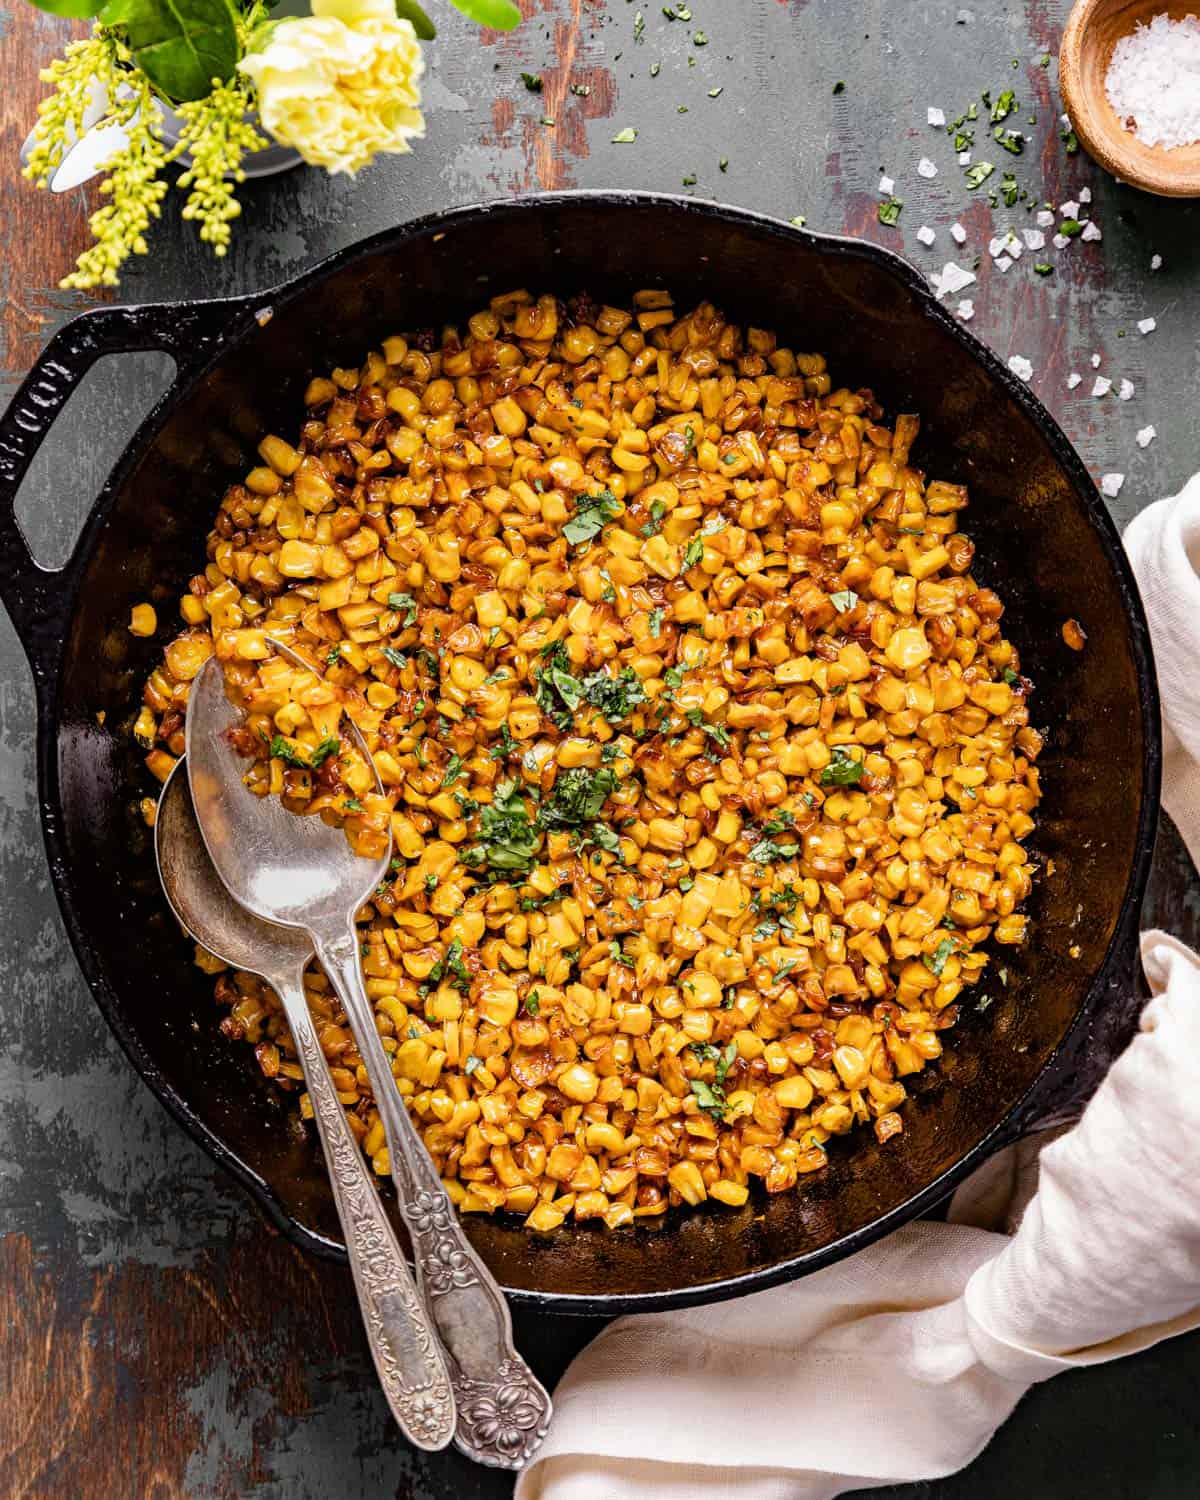
This southern Cast Iron Corn is slowly cooked in loads of butter and oil in a cast skillet until caramelized and crispy. It is simple, yet full of flavor. Think salty sweet. And if you love corn as much as me, you will be all over this one. It is the perfect no fuss side dish and one I make on repeat.
Have more corn to use up? Try my Slow Cooker Creamy Chicken & Corn Soup.
If you love cooking in your cast iron skillet, try my Cast Iron Lamb Chops.
Table of Contents
Highlights
- Uses canned corn (easy & inexpensive)
- Loads of butter
- Salty & a little sweet
- Slow cooked in a cast iron skillet
- Perfect easy holiday side dish
Ingredients

- Canned Corn: I have tried this recipe with fresh corn and it tastes very similar. So fresh corn can be substituted but I don’t find it is worth the extra work. You will need about 3 cups of corn.
- Vegetable Oil: You can substitute this for canola or any neutral tasting oil. I have also tested it with olive oil and that will work as well as long as you like the flavor.
Complete list of ingredients and amounts is located on the recipe card below.
Instructions
before you start . . .
- Drain the corn. Be sure to drain as much of the liquid from the canned corn as possible.
Step 1: In a cast iron skillet or large pan, melt the butter and oil over medium heat.
Step 2: Add the corn, garlic, salt, and pepper. Cook on medium for about 10 minutes or until all of the water evaporates.

TIP – The corn will not have developed any color at this point. Be patient.
Step 3:Turn the heat down to medium low and cook the corn for another 15 minutes.
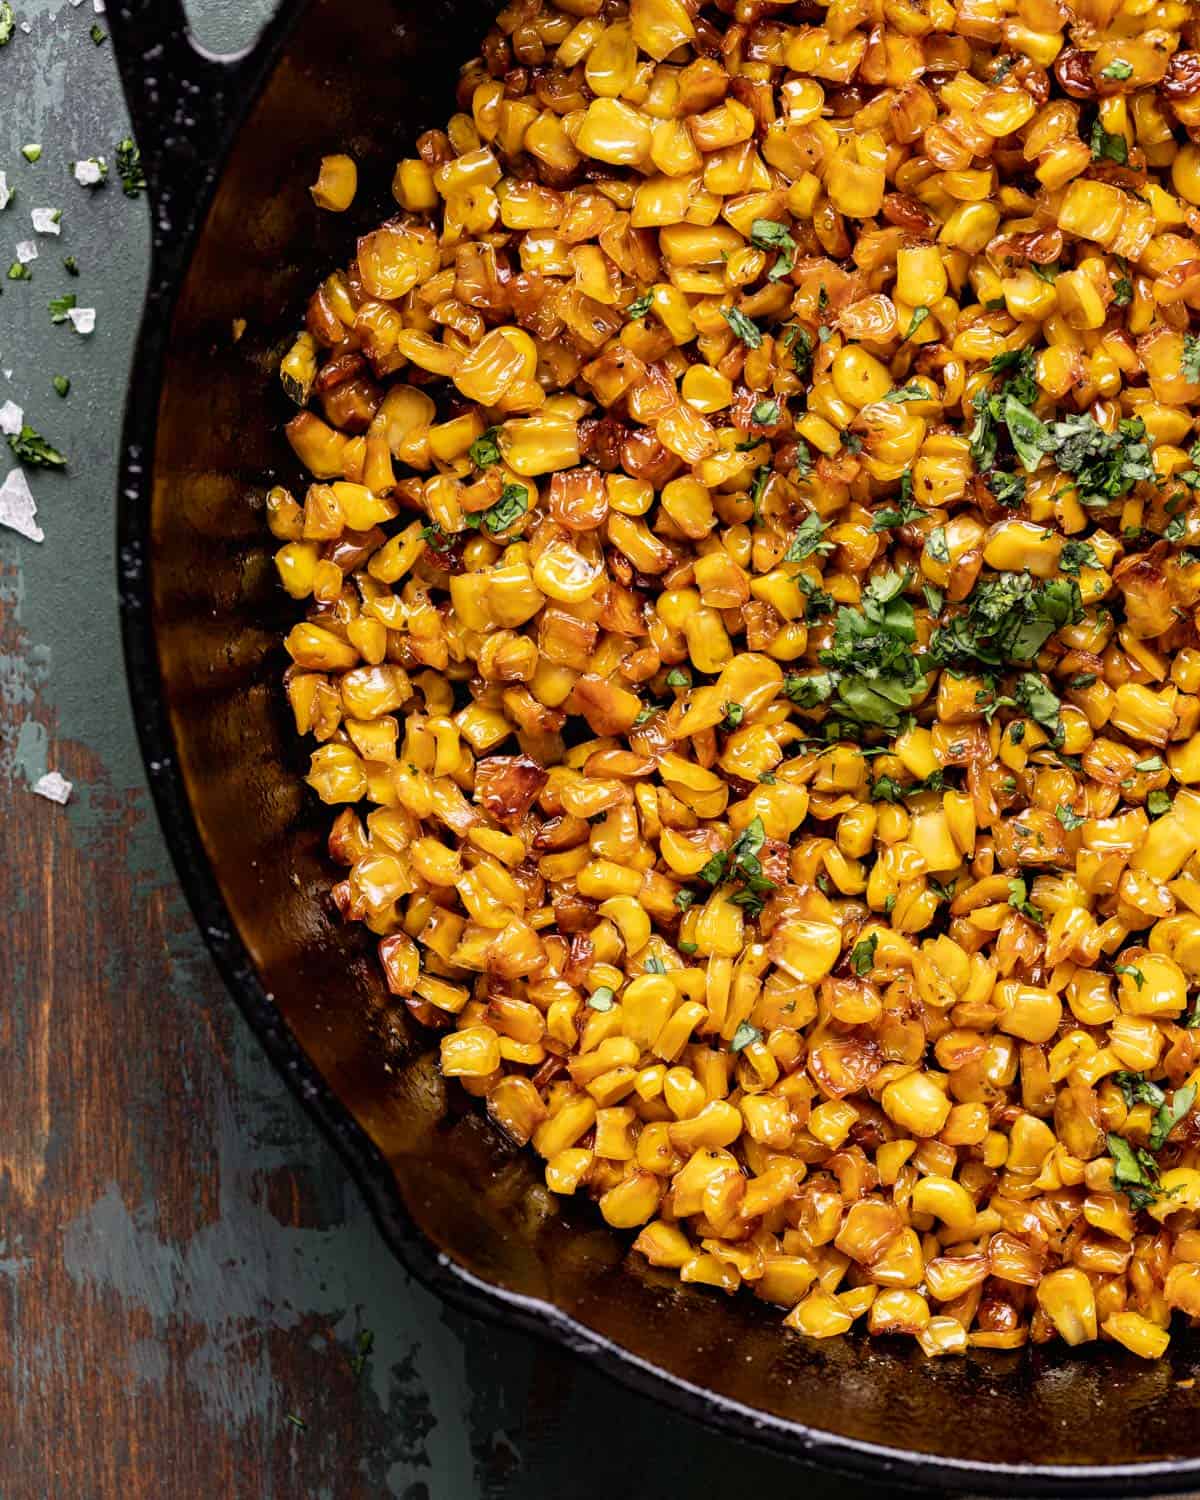
Step 4: Continue cooking the corn on medium low for another 15-20 minutes or until the corn is golden brown.

TIP – The corn will slowly begin to develop color.
TIP – Stir occasionally but not continuously so the corn can caramelize.
Expert Tips & Recipe Notes
- Cook in a cast iron skillet. Cast iron retains heat extremely well and helps the corn get crispy. If you do not have one, use a large heavy skillet.
- Use a combination of oil & butter. This was something my grandma was always adamant about. The butter adds a nice flavor and the oil ensures there is enough fat for browning. I find that the combination produces the best results, so I do not recommend only using one or the other.
- Slow cook. This recipe might seem a little time consuming but the nice thing is that it is super hands off. With that being said, you can’t rush it. Turning the heat up and cooking it for a shorter time does not work as well.
- The corn develops color slowly. As you will see in the photos above after 10-15 minutes you may think the corn is not caramelizing at all. It is a slow process. All of the liquid has to evaporate first. Patience is key. 😉
- You don’t need to keep a close eye on the corn. This recipe does not require much attention. Just be sure to keep the heat on medium low. I find it does not burn easily. I recommend stir occasionally but not continuously.
FAQs
Store in an airtight container in the refrigerator for 3-4 days.
Yes. Use a large heavy skillet instead.
I recommend slowly cooking it with lots of fat. This helps the corn caramelize, but not burn or stick the pan.
Yes. Sautéing corn brings out the sweetness and gives it a great flavor.
Related Recipes

Cast Iron Corn
Ingredients
- 2 15 ounce cans corn, drained*
- 2 tablespoons unsalted butter
- 2 tablespoons vegetable oil*
- 1 teaspoon salt
- 1/2 teaspoon pepper
- 1/2 teaspoon granulated garlic
Instructions
- Review all recipe notes and instructions before beginning.
- In a cast iron skillet or large pan, melt the butter and oil over medium heat.
- Add the corn, garlic, salt, and pepper. Cook on medium for about 10 minutes or until all of the water evaporates.
- Turn the heat down to medium low and cook the corn for another 15 minutes.
- Continue cooking the corn on medium low for another 15-20 minutes or until the corn is golden brown.


Total goodness! I used fresh corn and it came out so incredible, I will make this again for sure! Alongside, the corn I served it with turkey breast burgers and trust me when I say it was a crowd pleaser! I also had a spinach salad for some good ole greens!