This Chocolate Raspberry Tart has an oreo cookie crust, a layer of raspberry preserves, a creamy no bake chocolate ganache filling, and is topped with fresh raspberries. It is the perfect easy Valentine’s Day dessert.
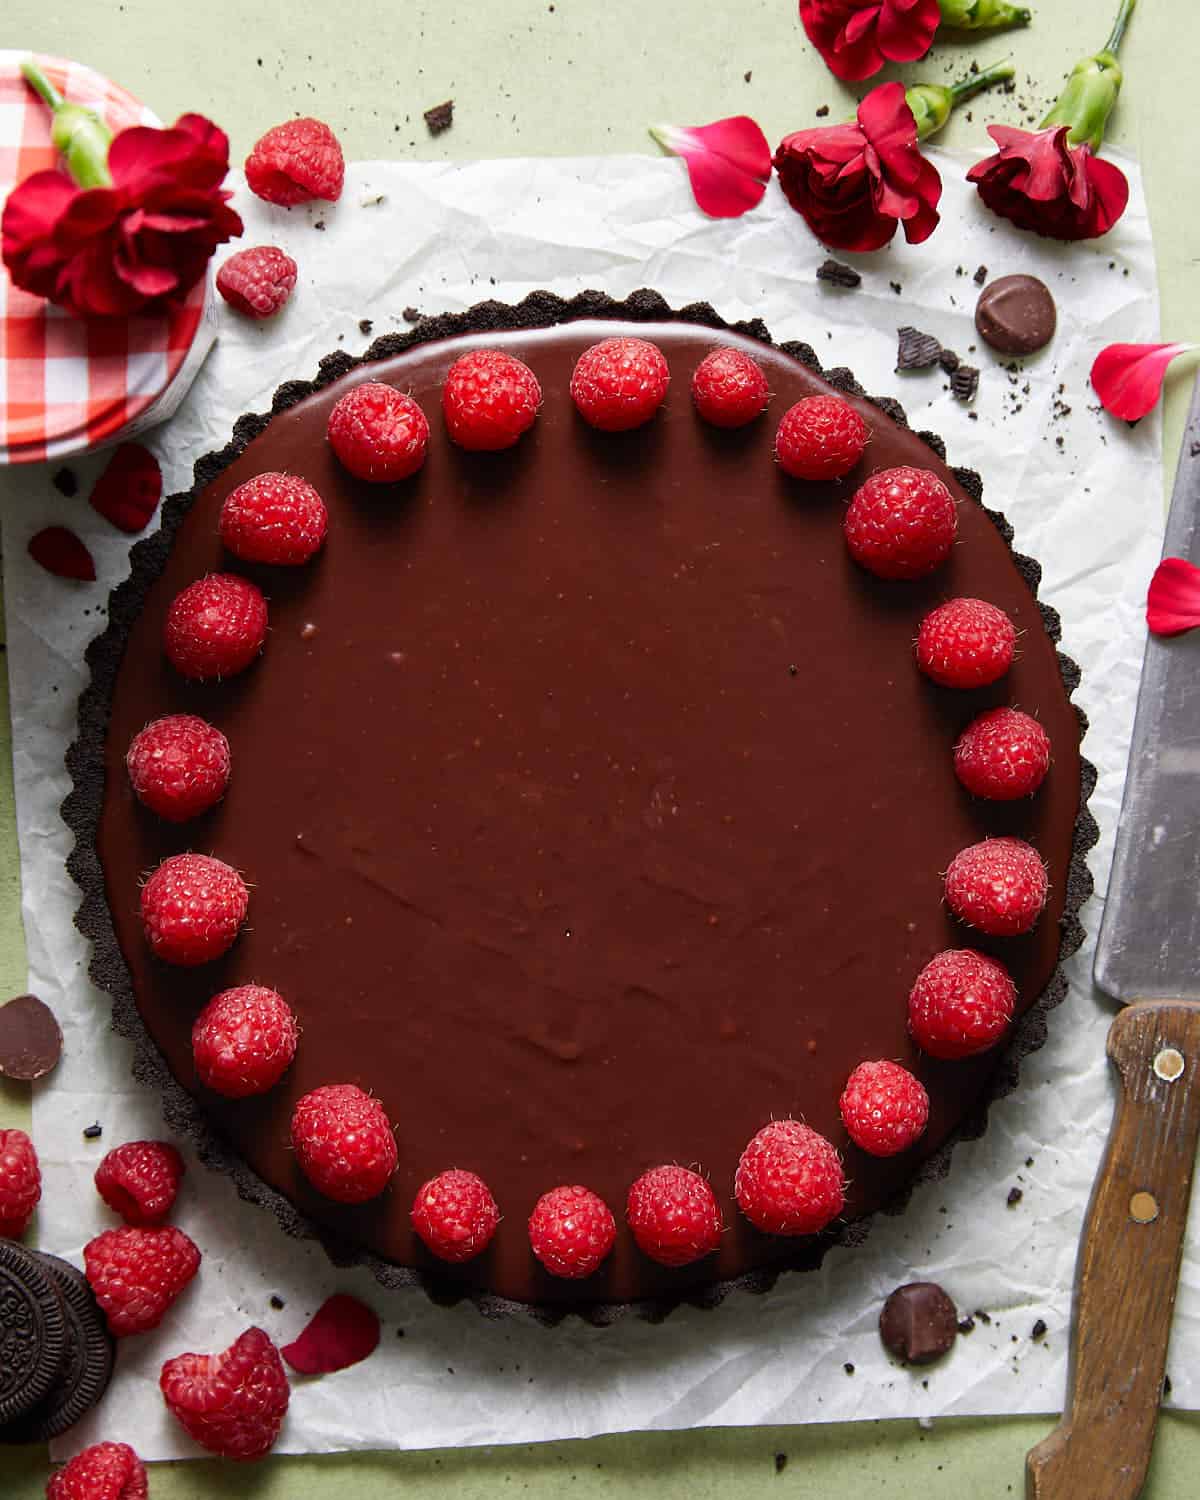
This raspberry & chocolate tart is the perfect Valentine’s Day dessert, just like my Mini Flourless Chocolate Cakes, Easy Mini No Bake Cheesecakes or No Bake Oreo Cheesecake Pie.
If you are looking for a recipe with chocolate, try my Raspberry White Chocolate Blondies.
Jump to:
Why You’ll Love This Recipe
- Easy oreo crust - The base is made of only 2 ingredients - oreo cookies & butter. No pie crust or homemade shortbread dough!
- No bake creamy chocolate filling - The filling is made with chocolate, heavy cream, & butter which makes it silky smooth. This also prevents it from hardening in the fridge so it is soft and easy to slice.
- Not overly sweet - Between the tart raspberries and semi sweet chocolate, this dessert is not too sweet or sugary tasting.
- Raspberry preserves & fresh raspberries - The layer of preserves add another layer of raspberry flavor. This tart flavor compliments the rich chocolate nicely.
- Valentine’s Day dessert - Chocolate & raspberries make for the perfect v-day dessert.
Ingredients & Substitutions
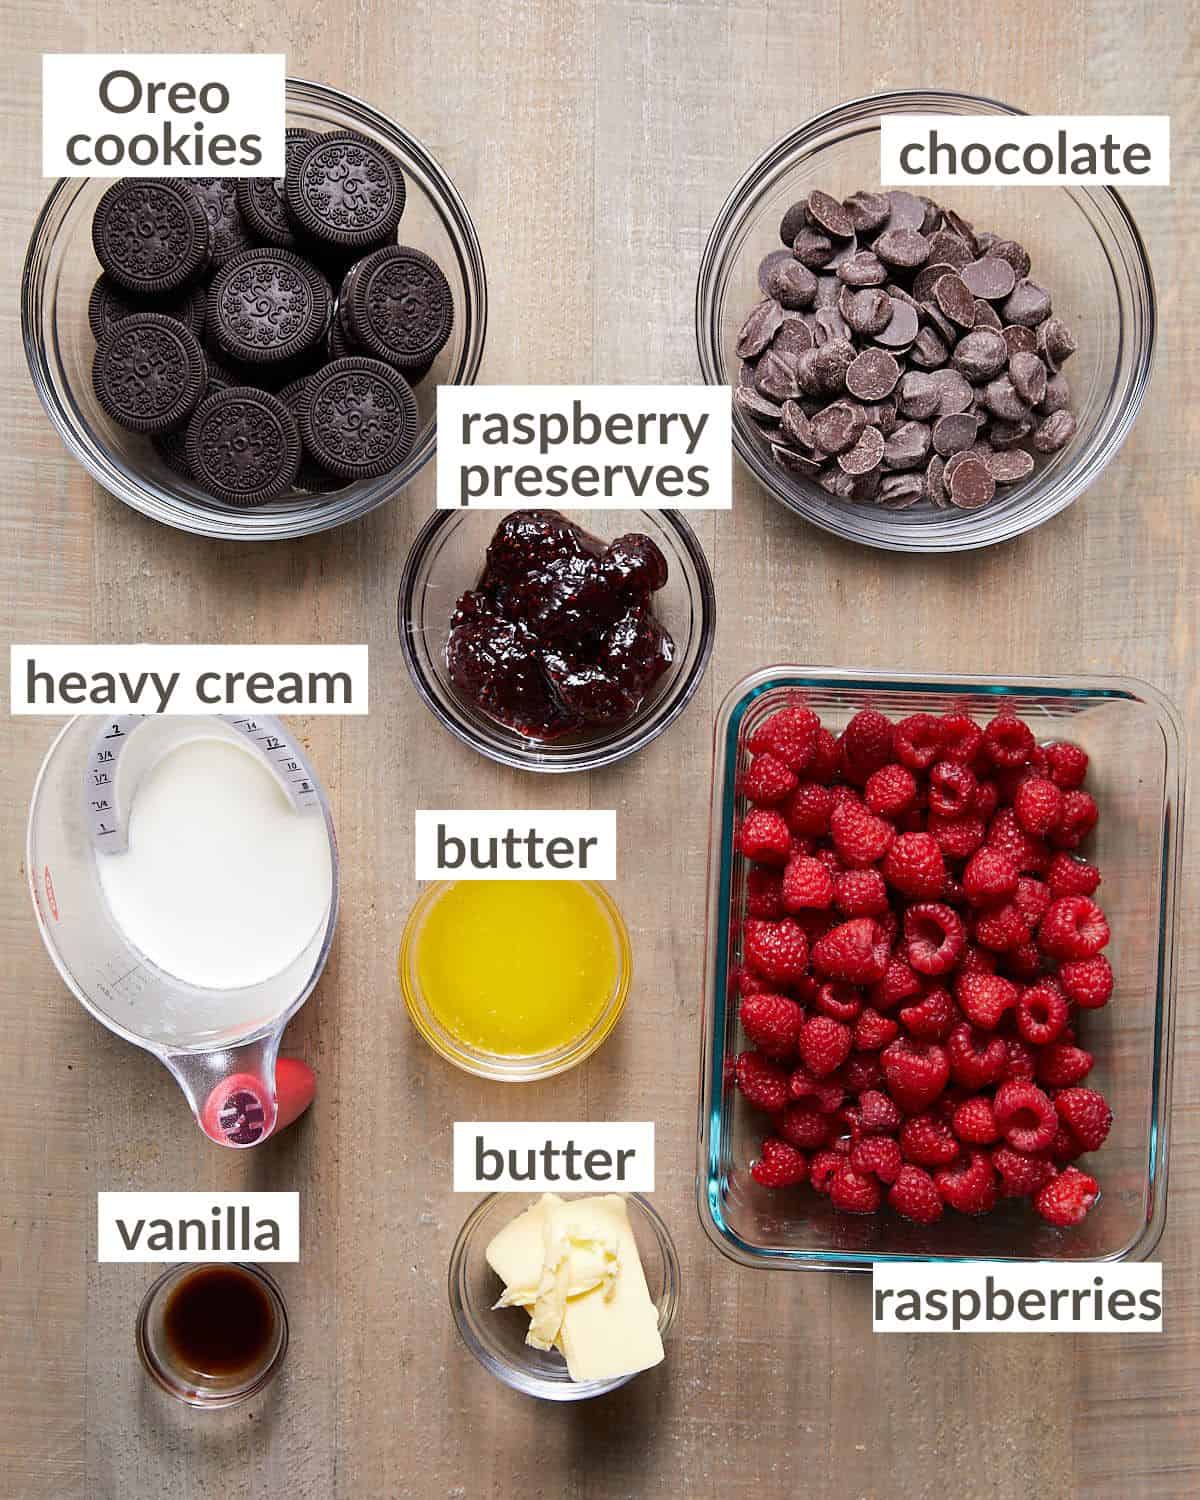
- Semi Sweet Chocolate: Use chopped chocolate bars or high quality wafers or chips. I prefer Guittard. These will melt better and have a better flavor. For a less sweet tart, use bittersweet chocolate instead.
- Raspberry Preserves: Avoid raspberry jam or fruit spread. These have less whole fruit. I recommend Bonne Maman preserves.
Complete list of ingredients and amounts is located on the recipe card below.
How to Make a Chocolate Raspberry Tart
Quick Overview
- Make the cookie crust.
- Make the chocolate ganache.
- Assemble and chill.
Step by Step Instructions
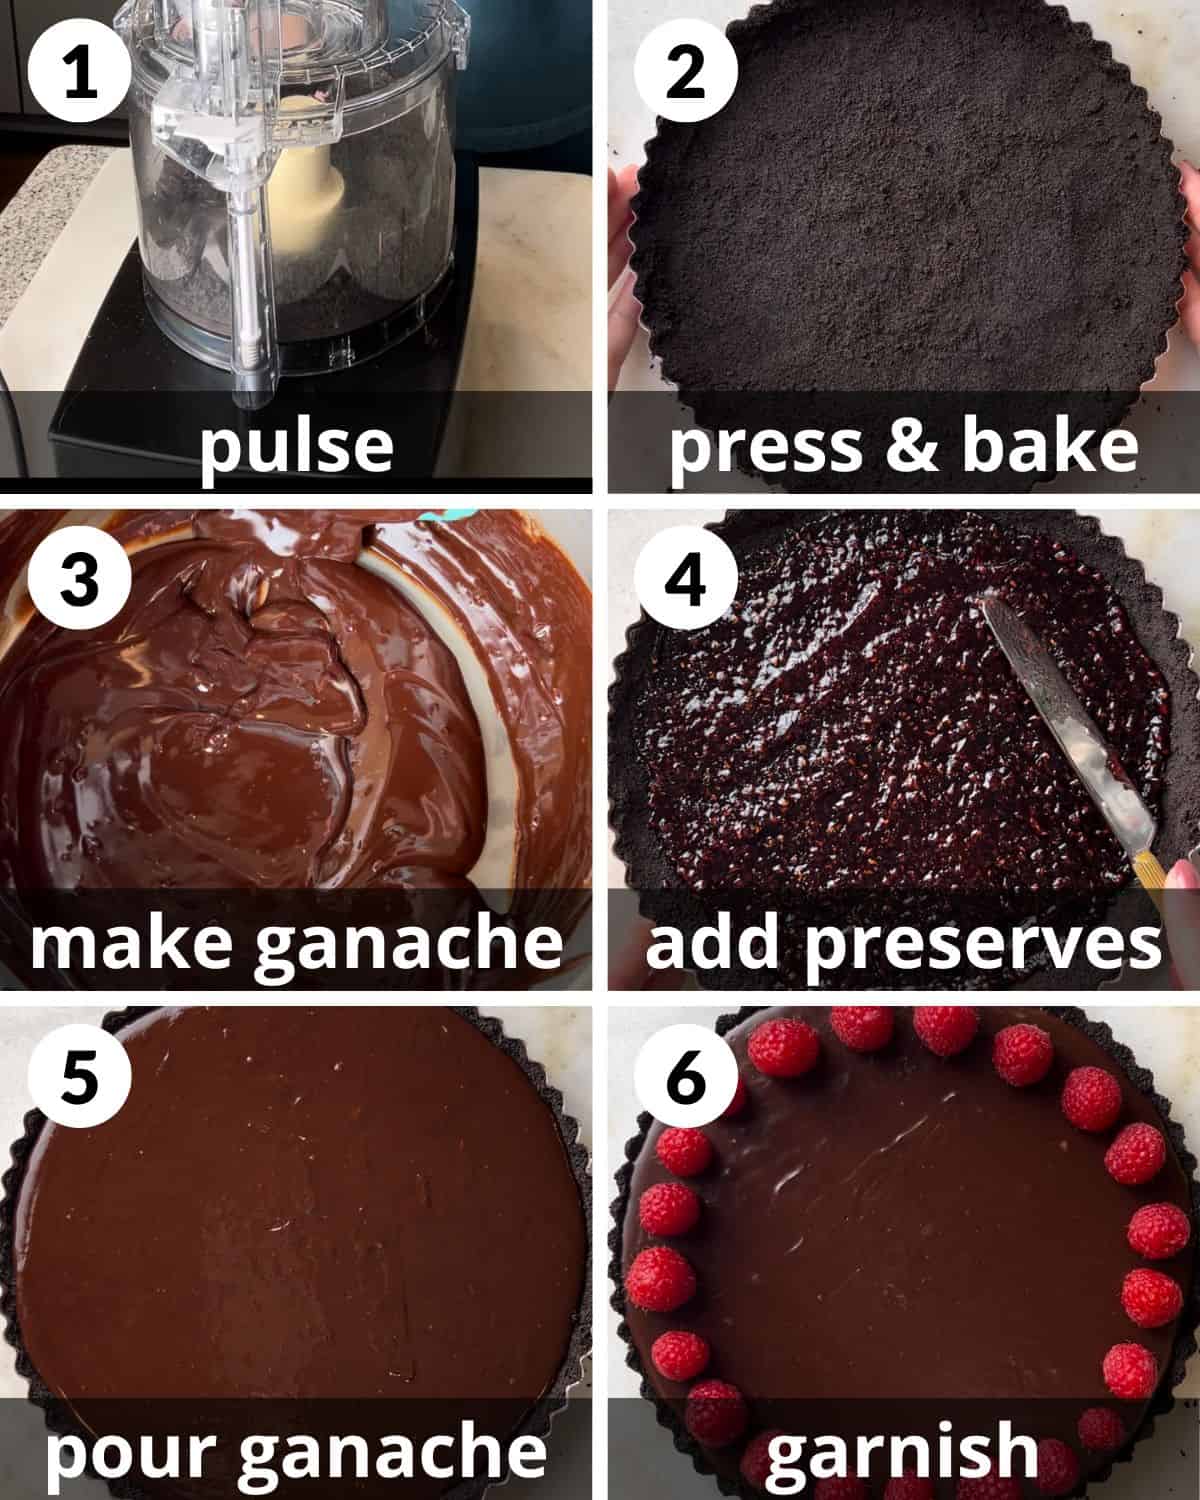
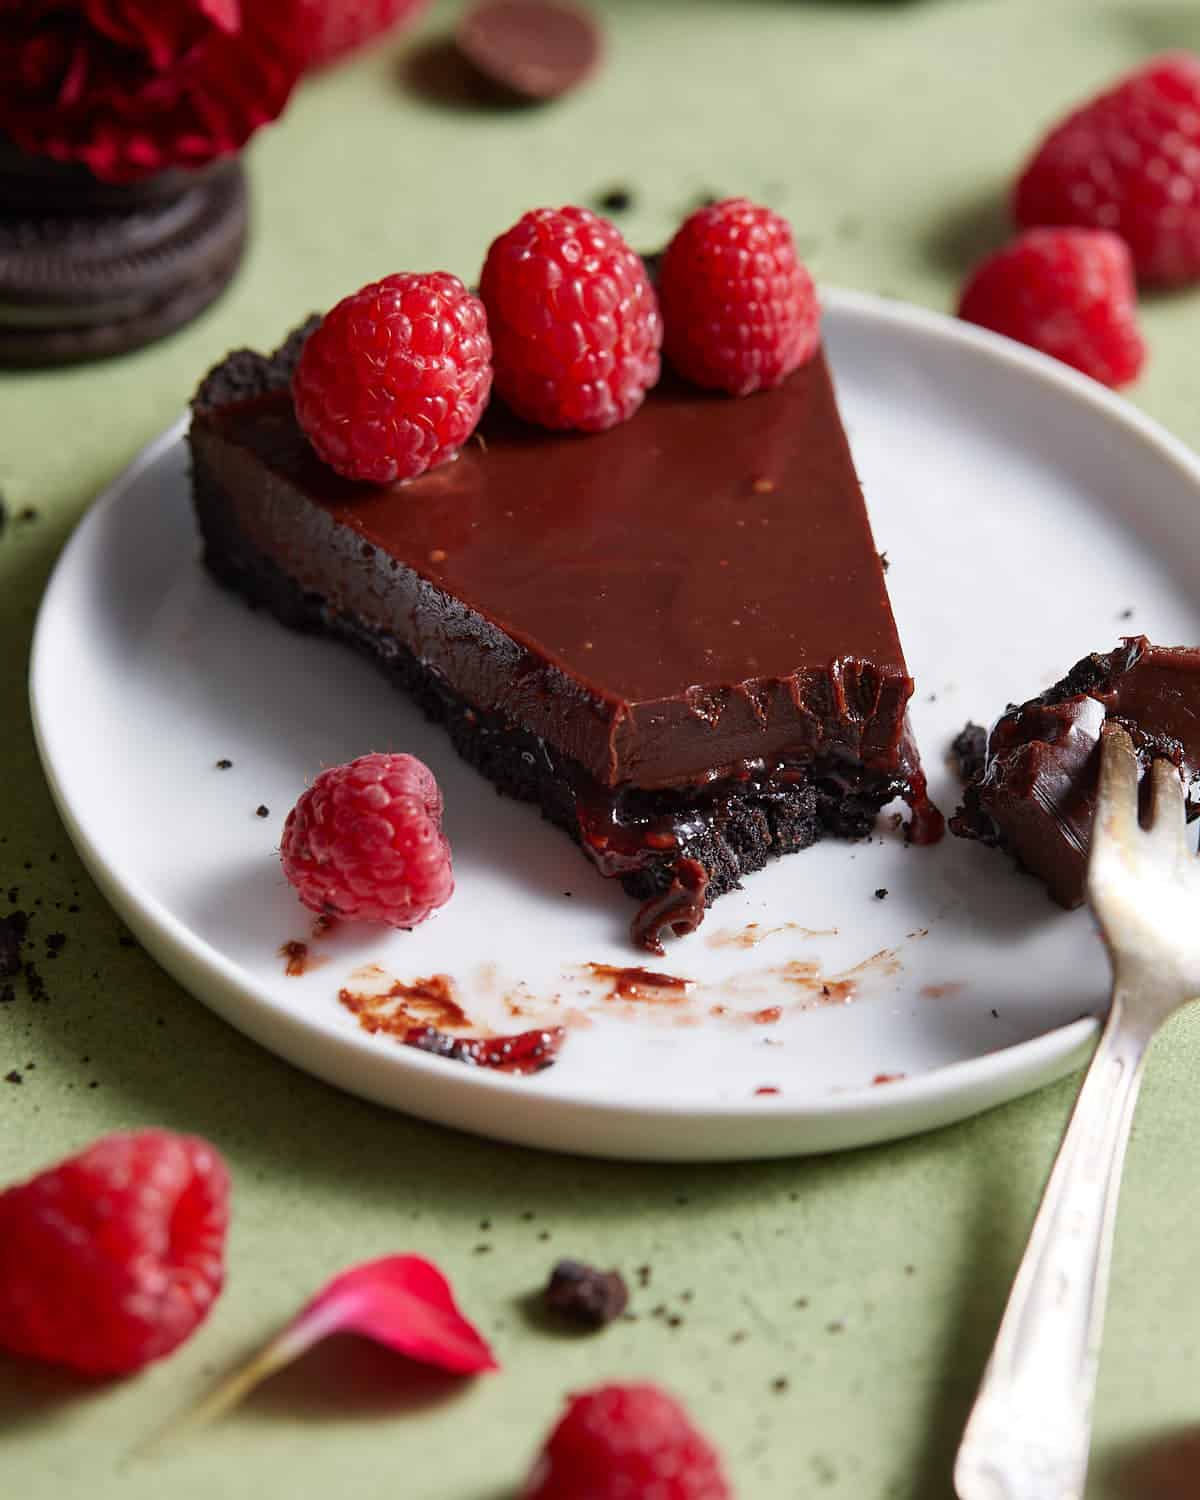
Be sure to chill the tart until the chocolate is set completely. If you lightly tap it with your finger tip no chocolate should transfer or stick to your finger.
Step 1: Preheat the oven to 350 degrees. In a large food processor, pulse the cookies into a fine crumb. Add the butter and pulse until well combined, scraping down the sides and bottom as needed.
Step 2: Pour the crumbs into a 9 inch tart pan. Using your hands and the bottom of a flat cup, press the crumbs into the bottom and sides of the pan. Bake for 8 minutes. Set aside to cool.
Step 3: In a small saucepan, melt the chocolate, cream, and butter over low heat until smooth and glossy. Remove from the heat and stir in the vanilla.
Step 4: Spoon the preserves into the crust and spread into an even layer.
Step 5: Pour the ganache on top of the preserves. Chill in the freezer for about 30 minutes or in the fridge for 2 hours until set.
Step 6: Remove the tart from the pan. Garnish with fresh raspberries. Slice and serve chilled.
Recipe Serving Suggestions
This tart is best served cold. It is also much easier to slice when it has chilled completely.
I highly recommend serving this tart with Homemade Vanilla Ice Cream (without eggs) or whipped cream. The creamy vanilla flavor of these pairs really well with the chocolate and balance it out.
To make whipped cream from scratch, whip 2 cups cold heavy cream, ¼ cup granulated sugar, and 1 Tablespoon vanilla until stiff peaks form. Store leftover whipped cream in the refrigerator in an airtight container for 2-3 days.
Expert Tips & Variations
- Heat the chocolate on low. Be sure to melt the chocolate over low heat. The cream should not boil. This will ensure it all seamlessly combines and does not get grainy.
- Bake the crust. This extra step ensures the crust stays crispy and holds together when it is removed from the pan.
- Chill. Be sure to chill it completely. The ganache should not be jiggly or soft. You should easily be able to place the raspberries on top without them sinking in.
- Make in advance if needed. Since this tart has to set and chill in the fridge/freezer, it is a great dessert to prepare one day ahead of time and chill in the fridge overnight.
Recipe FAQs
If too much cream was added to the ganache, the chocolate will not set and will remain runny. It also might just need more time to chill.
I highly recommend using a Non-Stick 2 Piece 9 InchTart Pan. The bottom is removable.
Shop my Amazon Storefront!
More Dessert Recipes
If you try this recipe, please leave a star rating in the recipe card below and/or comment! I always appreciate your feedback. Follow me on Pinterest, Facebook & Instagram.
Chocolate Raspberry Tart
Ingredients:
Crust
- 22 oreo cookies
- 4 Tablespoons (57 g) salted butter
Ganache
- 9 ounces high quality semi sweet chocolate*
- ¾ cup heavy cream
- 3 Tablespoons (43 g) salted butter
- 1 teaspoon vanilla extract
Assembly
- ½ cup high quality raspberry preserves*
- 1 pint fresh raspberries, washed & dried
- whipped cream, for serving
Instructions:
- Preheat the oven to 350 degrees. In a large food processor, pulse the cookies into a fine crumb. Add the butter and pulse until well combined, scraping down the sides and bottom as needed.
- Pour the crumbs into a 9 inch tart pan. Using your hands and the bottom of a flat cup, press the crumbs into the bottom and sides of the pan. Bake for 8 minutes. Set aside to cool.
- In a small saucepan, melt the chocolate, cream, and butter over low heat until smooth and glossy. Remove from the heat and stir in the vanilla.
- Spoon the preserves into the crust and spread into an even layer.
- Pour the ganache on top of the preserves. Chill in the freezer for about 30 minutes or in the fridge for 2 hours until set.
- Remove the tart from the pan. Garnish with fresh raspberries. Slice and serve chilled.
Notes:
- Semi Sweet Chocolate: Use chopped chocolate bars or high quality wafers or chips. I prefer Guittard. These will melt better and have a better flavor. For a less sweet tart, use bittersweet chocolate instead.
- Raspberry Preserves: Avoid raspberry jam or fruit spread. These have less whole fruit. I recommend Bonne Maman preserves.
- Heat the chocolate on low. Be sure to melt the chocolate over low heat. The cream should not boil. This will ensure it all seamlessly combines and does not get grainy.
- Bake the crust. This extra step ensures the crust stays crispy and holds together when it is removed from the pan.
- Chill. Be sure to chill it completely. The ganache should not be jiggly or soft. You should easily be able to place the raspberries on top without them sinking in.
- Make in advance if needed. Since this tart has to set and chill in the fridge/freezer, it is a great dessert to prepare one day ahead of time and chill in the fridge overnight.



Absolutely delicious! I made it with gluten free Oreos so that our daughter could eat it. Everyone loved it. Easy to make and it looks impressive. Thank you for sharing your recipe.
My chocolate fix!!!! Delicious