These easy Brown Sugar Garlic Chicken thighs are about to become your new favorite dinner recipe. They are smothered in a sweet and spicy sauce that is full of fresh garlic. And the skin is perfectly crisp!
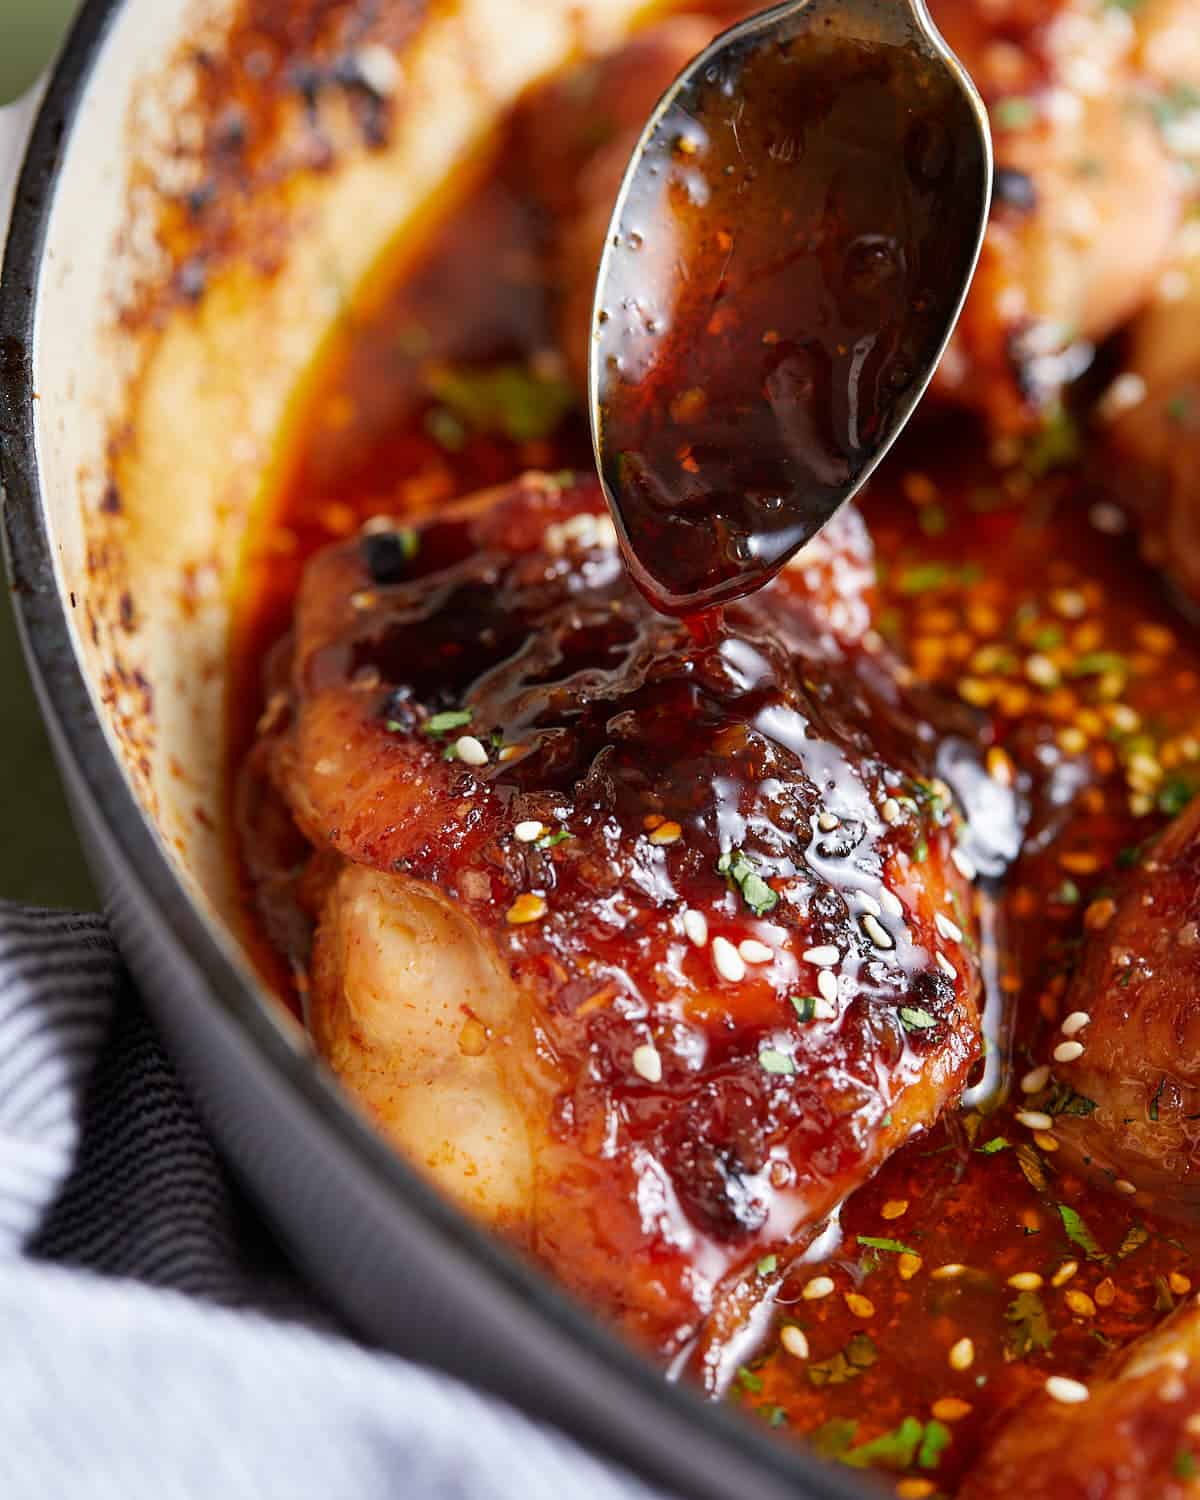
These brown sugar garlic chicken thighs are one of the first recipes I made for my husband when we were first married that he absolutely loved.
I nailed down the measurements to share it with you. I promise it will be a hit with your family too, just like my Greek Yogurt Marinated Chicken Thighs or Sheet Pan Chicken Thighs and Green Beans.
If you have pork chops on hand, try my Brown Sugar Garlic Pork Chops instead.
Jump to:
Why You’ll Love This Recipe
- Easy - This recipe only takes about 30 minutes to make.
- Sticky - The brown sugar in the glaze makes it super thick and syrupy. It is delicious! Cooking it on the stove (compared to just the oven or crock pot) allows the glaze to thicken much better
- Loaded with garlic - This sauce has 10 cloves of garlic. It pairs so well with the brown sugar, soy sauce, and rice vinegar.
- A little kick - Since the sauce is heavy on the brown sugar, the red pepper adds some heat that plays nicely with the sweetness.
- Simple - You only need 9 basic ingredients to make this recipe. You likely have most of them in your refrigerator/pantry already.
- Family friendly dinner - This recipe is easy to throw together after work that everyone will love.
Ingredients & Substitutions
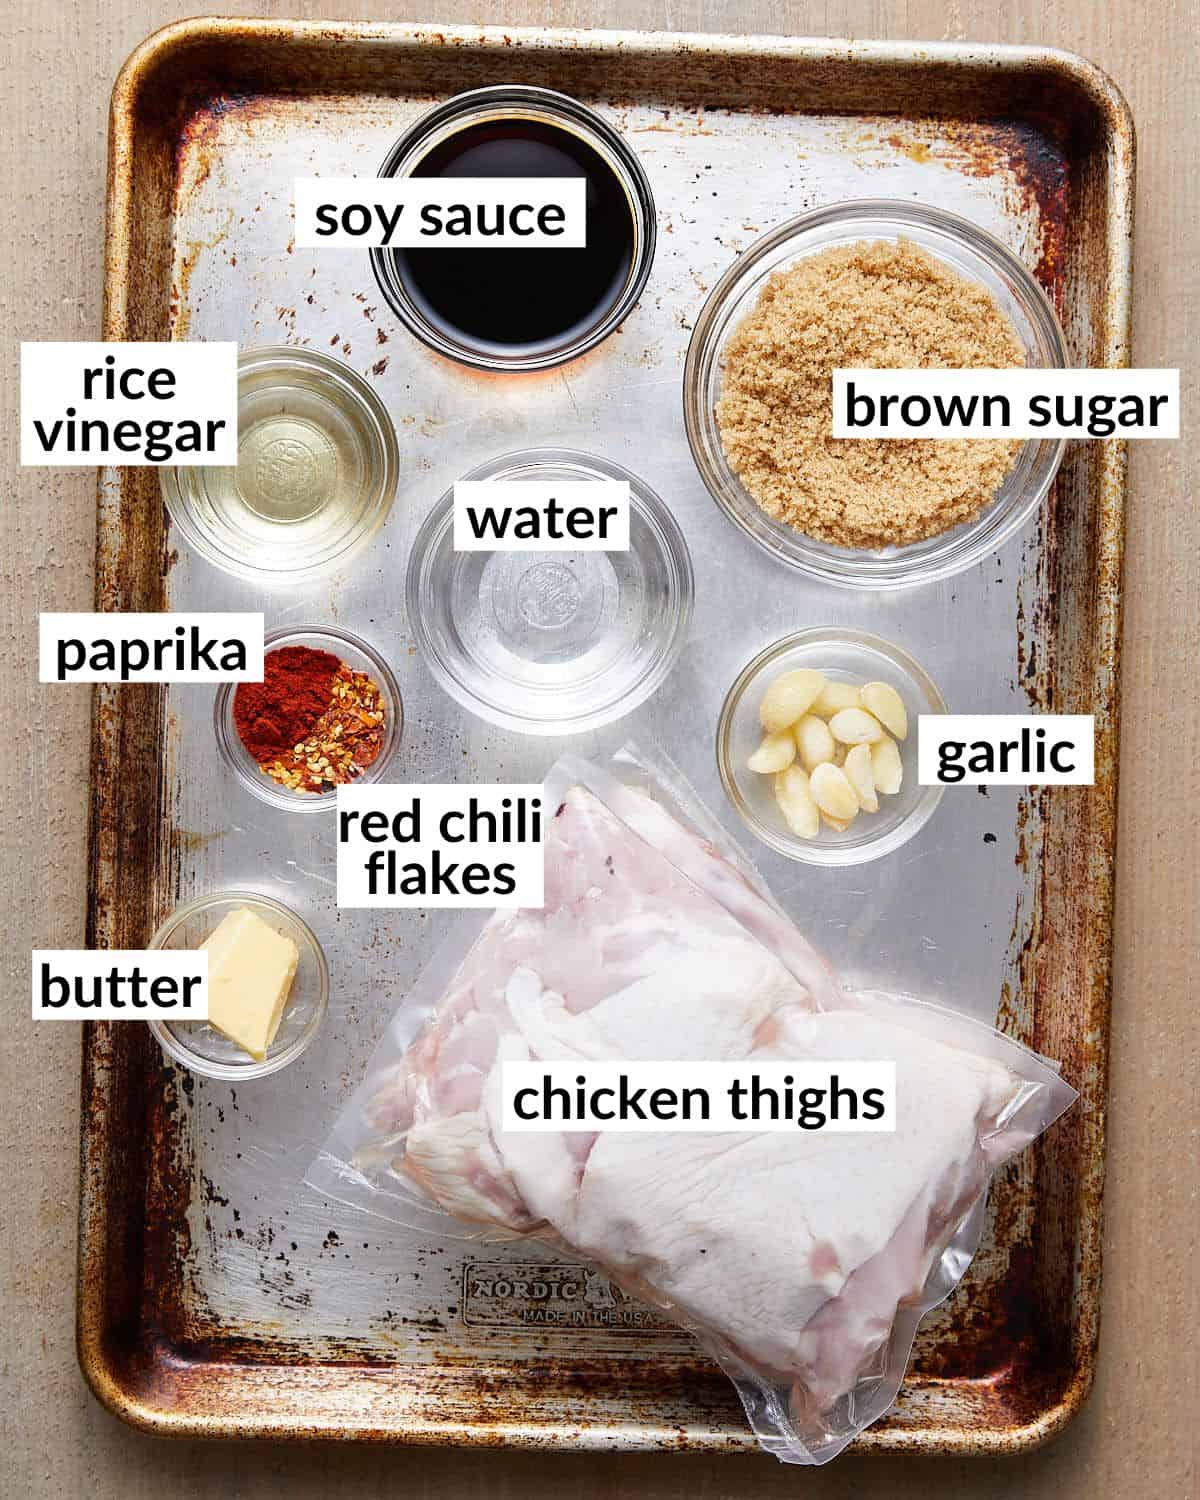
- Red Pepper Flakes: This little bit of spice pairs well with the brown sugar. If you are sensitive to spice, reduce to ½ teaspoon or omit.
- Chicken Thighs: I highly recommend chicken thighs with skin for this recipe. The skin will get nice and crispy under the broiler and dark meat stays more moist than white. Bone-in chicken thighs can also be used.
Complete list of ingredients and amounts is located on the recipe card below.
How to Make Brown Sugar Garlic Chicken
Quick Overview
- Make the glaze.
- Toss the chicken.
- Bake.
Step by Step Instructions
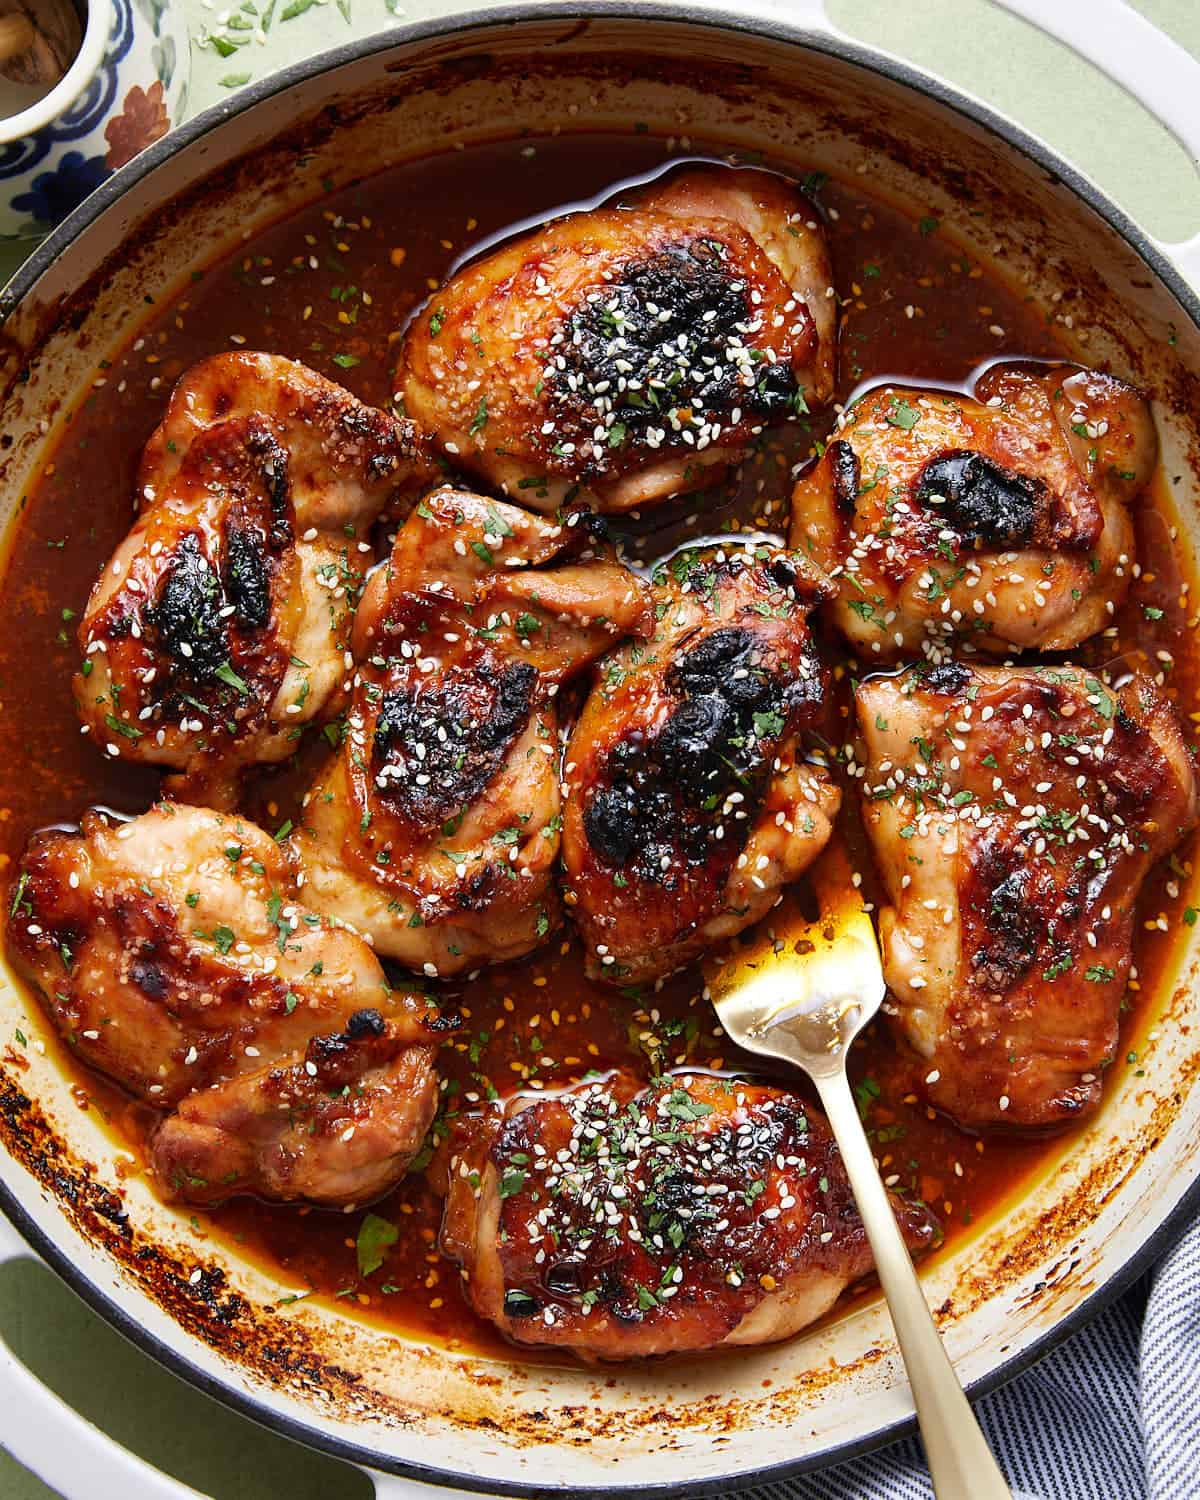
Serve the chicken thighs with extra glaze/pan drippings.
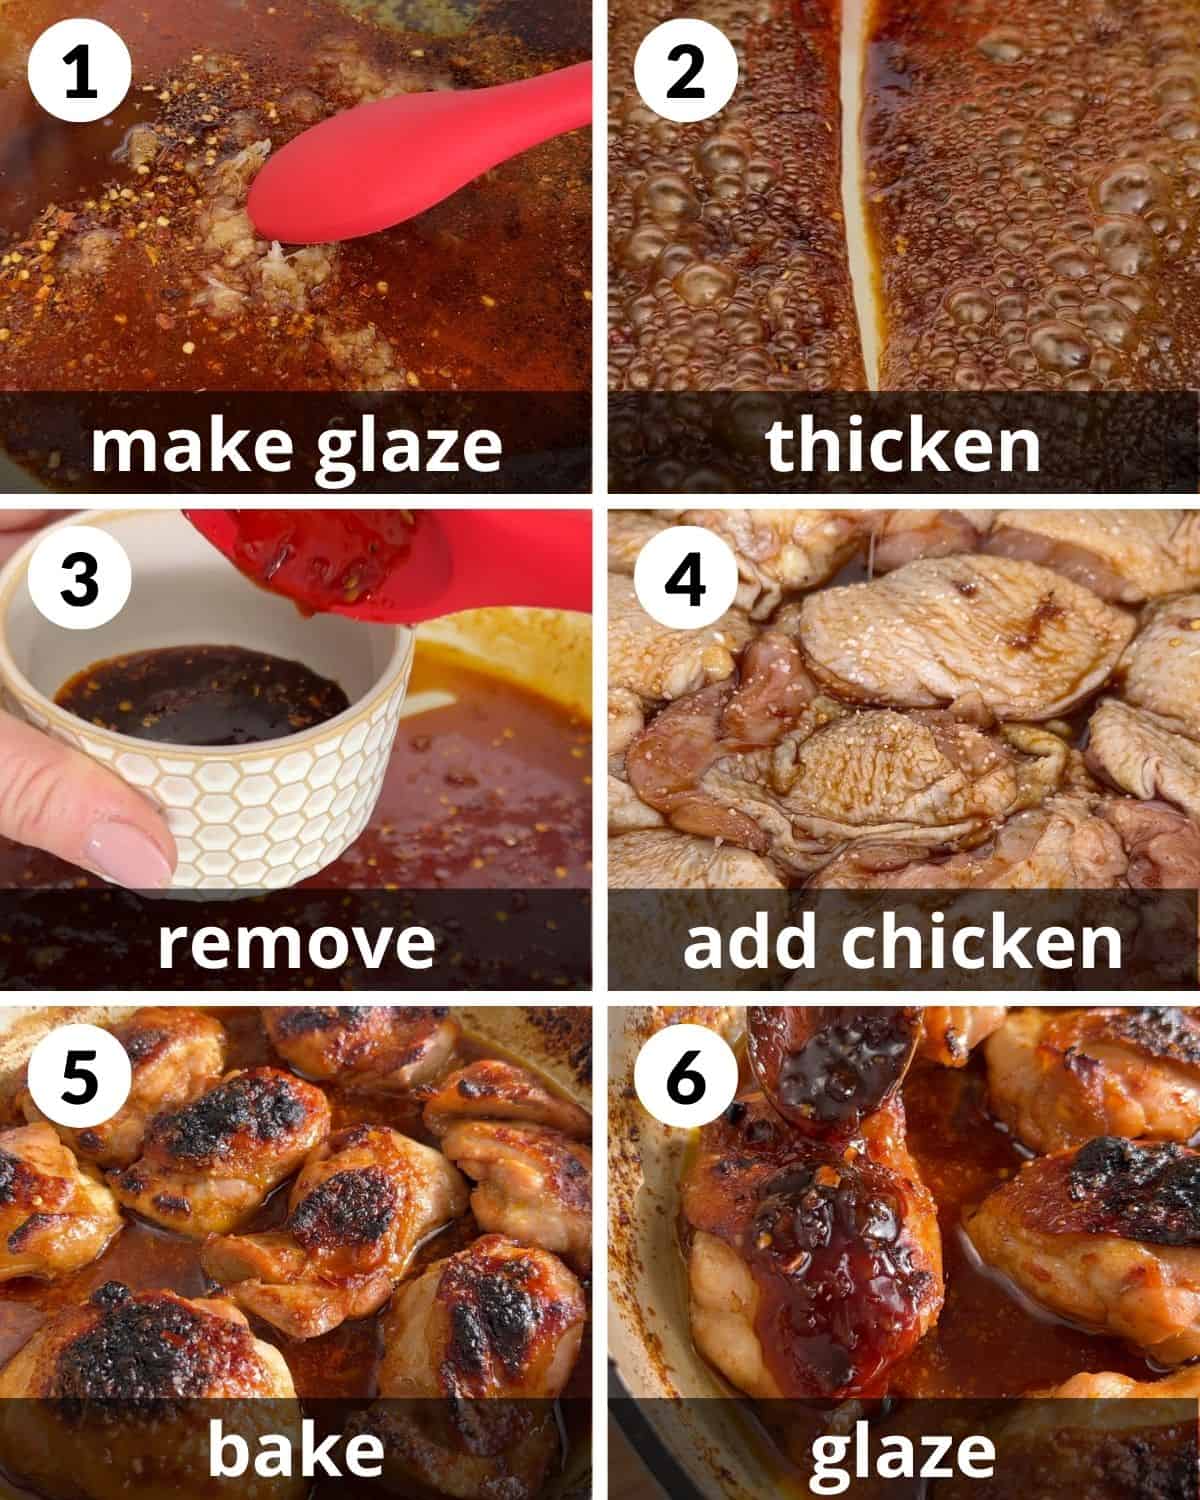
Step 1: Preheat the oven to 425 degrees. In a 12.5 inch oven/stovetop safe skillet, stir together the butter, sugar, soy sauce, water, vinegar, garlic, paprika, and red pepper over medium heat.
Step 2: Bring to a rolling boil and cook for about 5 minutes, stirring continuously. The glaze should begin to thicken.
Step 3: Remove about 3 Tablespoons of glaze from the skillet and set aside.
Step 4: Toss the chicken thighs in the skillet with the remaining glaze. Arrange the chicken thighs skin side up in a single layer. Sprinkle the skin lightly with kosher salt.
Step 5: Bake for 25-30 minutes or until the internal temperature is at least 165 degrees. Broil if desired for 2-3 minutes to crisp up the skin.
Step 6: Spoon a few tablespoons of the pan drippings into the glaze to loosen it. Brush each chicken thigh with the glaze mixture.
Recipe Serving Suggestions
I like to garnish these brown sugar chicken thighs with finely chopped cilantro and sesame seeds.
I recommend serving these over a side dish that can soak up the garlic brown sugar sauce. Here are some ideas:
- Basmati Rice in the Instant Pot
- Red Skin Mashed Potatoes
- Fried Cabbage with Bacon
- Spicy Cucumber Salad
- Garlic Chili Noodles
Expert Tips & Variations
- Thicken the glaze on the stove first. The chicken releases lots of liquid as it cooks so it is important to thicken the glaze on the stove before adding the chicken or it will become very watery.
- Reserve some glaze. The glaze will become much thinner in the oven from the juices from the chicken. This is normal. I like to save some of the thickened glaze to brush on the chicken at the end.
- Broil. I prefer the chicken skin to be a little charred so I love to broil these after they finish baking. This adds so much flavor.
Recipe FAQs
Salt and acid will tenderize chicken more than sugar if marinated for at least 30 minutes. This chicken does not need to be marinated. It comes out super tender since it is baked in the glaze. The sugar adds flavor more than it transforms the texture.
To develop color, I recommend using the broiler for baked chicken. Since it is already in the oven, this is much easier than browning it on the stove. A couple of minutes under the broiler will do the trick!
Yes. The glaze will season the chicken thighs before they are cooked and browned.
More Main Dish Recipes
Shop my Amazon Storefront!
If you try this recipe, please leave a star rating in the recipe card below and/or comment! I always appreciate your feedback. Follow me on Pinterest, Facebook & Instagram.
Brown Sugar Garlic Chicken
Ingredients:
- 1 Tablespoon unsalted butter
- ½ cup light brown sugar
- ¼ cup soy sauce
- ¼ cup water or chicken broth
- 3 Tablespoons rice vinegar
- 10-12 cloves garlic, minced
- 1 teaspoon EACH smoked paprika & red pepper flakes*
- 2 ½ pounds (6-8) boneless chicken thighs*
Instructions:
- Preheat the oven to 425 degrees. In a 12.5 inch oven/stovetop safe skillet, stir together the butter, sugar, soy sauce, water, vinegar, garlic, paprika, and red pepper over medium heat.
- Bring to a rolling boil and cook for about 5 minutes, stirring continuously. The glaze should begin to thicken.
- Remove about 3 Tablespoons of glaze from the skillet and set aside.
- Toss the chicken thighs in the skillet with the remaining glaze. Arrange the chicken thighs skin side up in a single layer. Sprinkle the skin lightly with kosher salt.
- Bake for 25-30 minutes or until the internal temperature is at least 165 degrees. Broil if desired for 2-3 minutes to crisp up the skin.
- Spoon a few tablespoons of the pan drippings into the glaze to loosen it. Brush each chicken thigh with the glaze mixture.
Notes:
- Red Pepper Flakes: This little bit of spice pairs well with the brown sugar. If you are sensitive to spice, reduce to ½ teaspoon or omit.
- Chicken Thighs: I highly recommend chicken thighs with skin for this recipe. The skin will get nice and crispy under the broiler and dark meat stays more moist than white. Bone-in chicken thighs can also be used.
- Thicken the glaze on the stove first. The chicken releases lots of liquid as it cooks so it is important to thicken the glaze on the stove before adding the chicken or it will become very watery.
- Reserve some glaze. The glaze will become much thinner in the oven from the juices from the chicken. This is normal. I like to save some of the thickened glaze to brush on the chicken at the end.
- Broil. I prefer the chicken skin to be a little charred so I love to broil these after they finish baking. This adds so much flavor.





Has anyone ever put this in an air fryer
The sauce would drip and be a mess in the air fryer in my opinion.